Salutations! Welcome to another edition of Games with Coffee!
Today, we’ll be talking about a wild addition to my gaming repertoire; the RetroPie! I’ll also mention the controllers that I’ve equipped onto this versatile, little system. So, without further ado, let’s begin.
What is a RetroPie?
RetroPie is an OS that can be loaded onto a Raspberry Pi – basically an inexpensive microcomputer – and transforms it into a retro gaming emulation machine! RetroPie can be loaded as its own OS or it can be overlaid on top of an existing full OS. In my case, I loaded it up on a Raspberry Pi.
To put one of these bad boys together, you’ll need the following:
- A working computer to download the software, games, and the like.
- A Raspberry Pi 3 (Model B or higher is recommended)
- A power source for the Pi (must be rated at 2.5 amps)
- a Micro SD card (16 GB minimum, but I use a 32 GB card)
- A USB-capable controller or keyboard
- A 16 GB minimum USB stick (I recommend getting a fresh stick, but reformatting an old one works too)
- A Micro SD to USB adapter
- An HDMI Cable
- A HDMI compatible screen
- A case (completely optional, but good to have nevertheless)
Installing RetroPie on the Pi computer is not too difficult to do – just follow the steps listed here.
Pro tip: once the software is written onto the MicroSD card, your computer may tell you that it can’t read the device and will recommend to format it. DO NOT FORMAT IT! Just remove it once the writing process is complete and insert the SD card into the Pi. This happened to me a couple of times until I figured that out.
What Games Does RetroPie Play?
In a nutshell, practically all generations of consoles and games up to and including the original PlayStation. There are emulators that can play beyond that system, but the Pi isn’t powerful enough for them to work properly.
In general, a majority of games are compatible with the emulators on the system. In other words, I’ve yet to find a game that doesn’t play perfectly on here.
There are also some homebrew games and ports available to play, such as Duke Nukem and Doom. These can be found through the Manage Packages option on the main RetroPie menu.
Getting the games into the Pi is as simple as inserting a fresh/formatted USB stick into the Pi and taking it out after it creates all the directories on the stick, which usually takes a few minutes. Next you insert the stick into a computer, copy your games into the respective console folders and put the stick back into the Pi. If all goes well, you should see a list of systems appear on the main menu of the RetroPie interface, which will contain the games.
Options and RetroArch
Once you launch a game, you can access a list of options that allow you to modify the screen resolution to fit your screen or change the default emulator for the game, among others. This is done by pressing any button before the emulator starts.
RetroArch is a front end that’s accessed while the emulator is running and provides options to save and load states, modify control configurations and adjust settings. The default command to access this menu (assuming you’re using an SNES controller) is Select + X.
What about Controllers?
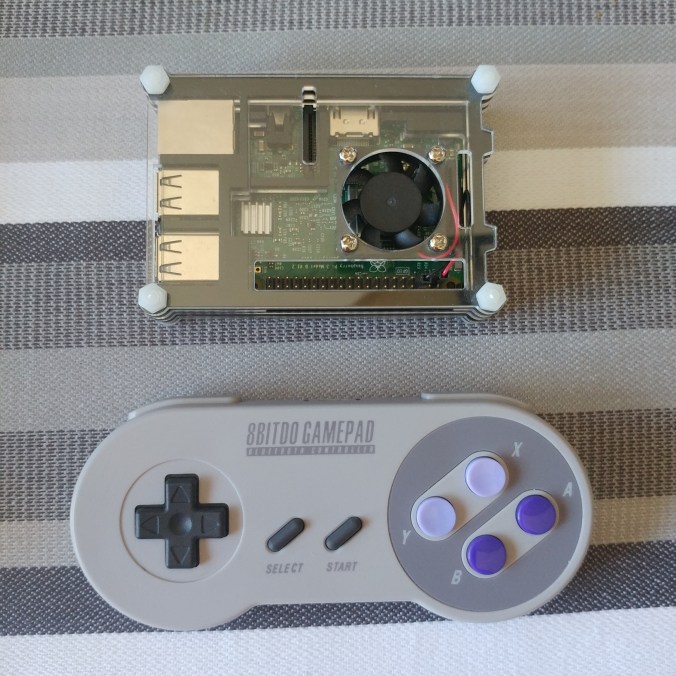
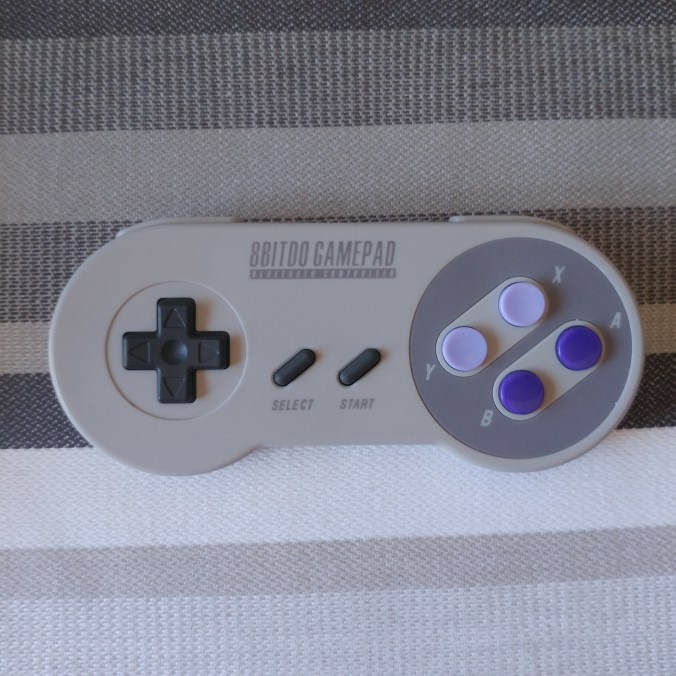
Thanks to the Pi’s Bluetooth capabilities, you can easily use wireless controllers to play your favourite classic games! While you can connect PlayStation 3, PlayStation 4 and Xbox controllers to the system, I find that the perfect controllers to use are the ones by 8bitdo.
I have the SNES30 (or the SN30) Bluetooth controller and it’s a BLAST to use! The controller feels exactly like the Super Nintendo controller, down to its weight, the feel of the buttons and grip.
The setup is a bit of a chore, but once it’s all done, you just turn on the system and the controller and you’re good to go!
If wired is what you’re looking for, you can use a USB wired controller or, if you have some classic controllers lying around, a USB to (insert console here) converter also works great!
Where Can I Get All This Stuff!?
Luckily, you can get a complete Raspberry Pi kit on Amazon for a relatively modest price. Either check Amazon.ca or Amazon.com.
As for the case, there are plenty to choose from! There are even some cases that look like classic consoles of yore! The one I used is this one – the transparent, seven-layer construction is stylish, it comes with plenty of heat sinks and it has a fan that you can connect to the Pi’s GPIO board to keep the unit cool. It’s very useful!
Amazon also has a plethora of controller options available. You can also find wireless controllers, including the popular 8bitdo controllers, at any electronic big-box store or gaming stores, like Best Buy (CA) or GameStop/EB Games for example.
As for games, well emulation is still a very gray area in legal terms. I won’t tell you where you where explicitly you can find any, but Google is your best friend in that regard.
So, there you have it. All the tools you need to build your very own retro arcade system! Whether you’re looking to play the finest offerings of retro gaming for the first time or the millionth time, the RetroPie is probably the best option available, in my opinion.
With another edition concluded, this has been Ryan from Games with Coffee, off to play some Mega Man X on my own RetroPie setup and reminding you to Keep Gaming and Keep Brewing!

A former coworker was obsessed with Raspberry Pi, haha. I have an education background in electronics and I’m tempted to get one and play with it someday. Great post! 😀
LikeLiked by 1 person
I highly recommend that you do! 😂
LikeLiked by 1 person
Hmm. Tempted to give this a go. I have a ton of emulated stuff on my main computer, but it might be nice to have something a bit more “portable”.
LikeLike
Yeah I’m with you on that…portable emulation is a win…I need to make one of these…
LikeLike